I often see product teams struggle to get high‑quality parts fast without investing in full metal tooling. What if there were a midway process?
Vacuum casting is a manufacturing process in which a liquid resin (typically polyurethane) is drawn into a silicone mould under vacuum to replicate a master pattern with high fidelity and minimal air bubbles.
In the sections below I explain how the process works, what the advantages and disadvantages are, how to apply it in product design, and what emerging trends you should keep an eye on.
What is the vacuum casting process?
Imagine you have a perfect 3D‑printed master part and you want 10 to 50 copies that look and feel real. Vacuum casting is your bridge between prototype and full production.
The process typically consists of creating a high‑quality master, making a silicone mould, pouring resin into it under vacuum, and then curing it to produce small batches of parts.
Let’s walk through the process in a product‑design perspective.
Step 1: Master Model Creation
You begin with a master model (also called a pattern) that has the exact geometry you want to replicate. Typically the master is made using 3D printing or CNC machining. Make sure its surface finish, wall thickness, and features are finalized, because the master quality directly determines the mould and final part quality.
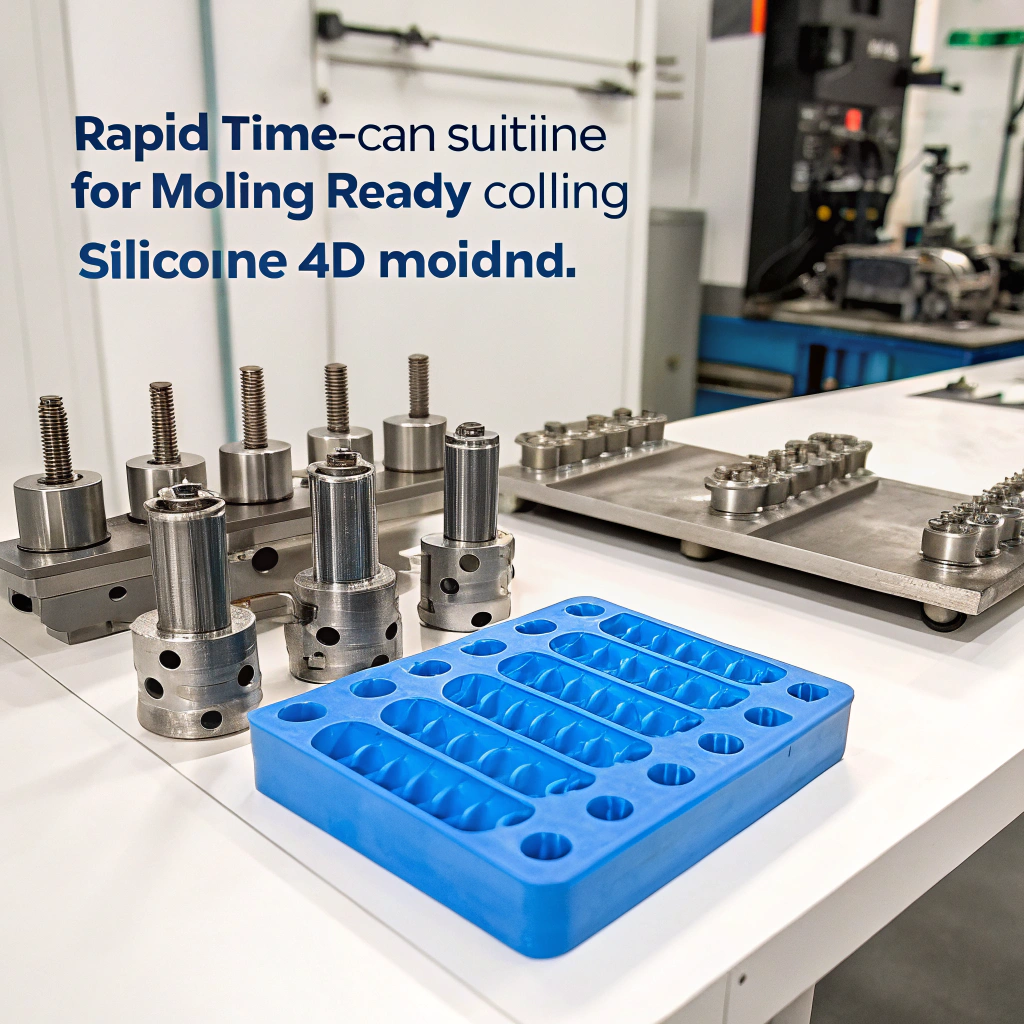
Step 2: Silicone Mould Making
Once your master is ready, it is placed in a casting box. Liquid silicone rubber is poured around it (often under vacuum to remove bubbles) to create the negative mould. The mould is allowed to cure (often at ~40 °C for 8‑16 hours) until the mould material hardens. Then the master model is removed and the mould is ready for casting.
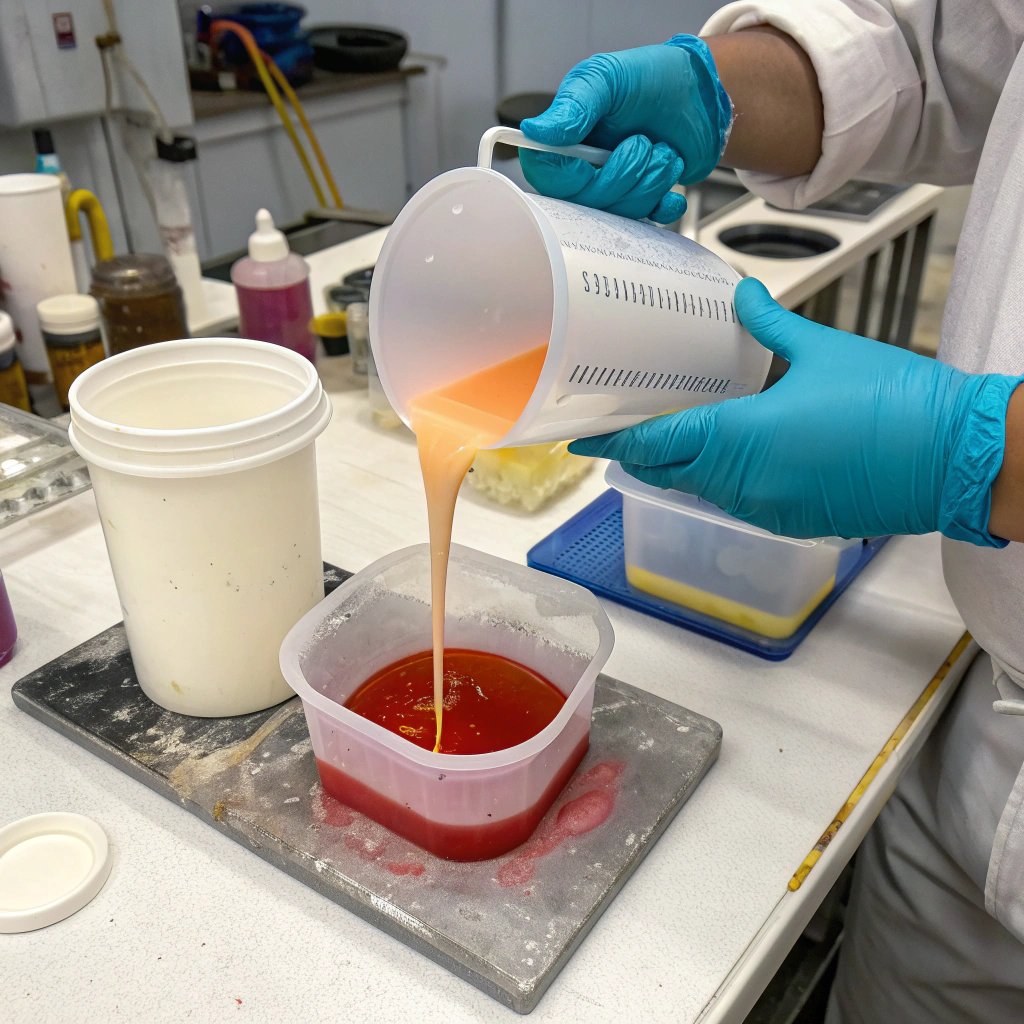
Step 3: Casting the Parts Under Vacuum
With the silicone mould in place, you mix a two‑component casting resin (often polyurethane) and may add pigments or other additives. Then, under vacuum, the resin is poured into the mould. The vacuum helps remove entrapped air and ensures the material fills fine details and undercuts. After filling, the part is cured (often in an oven). Then you demould and you have your replica part.
Step 4: Post‑Processing
After removal from the mould you may need to trim flashing, sand or polish surfaces, paint or apply coatings, and inspect dimensions. The silicone mould typically has limited life (often 10‑20 parts or maybe up to ~25 depending on size/complexity) before dimensional accuracy or mould wall condition degrades.
Technical Notes
- Tolerances: accuracy of about ±0.3% for parts under ~100 mm.
- Wall thickness: recommended minimum about 1.5 mm for best results.
- Material options: a variety of polyurethane resins mimic ABS‑, PC‑, PP‑ or rubber‑like properties.
- Volume: Generally suited for low‑to‑medium run lengths (e.g., dozens of parts vs thousands) because the mould life and process speed limit scale.
By understanding the steps and constraints, you can determine when vacuum casting makes sense for your product‑development and small‑batch needs.
What are the pros and cons of vacuum casting?
Before committing to vacuum casting you’ll want a clear view of what it gives you and what you trade off.
Vacuum casting offers lower tooling cost, short lead times, excellent surface finish, and flexibility for small batches – but it has limitations in scalability, precision, material range, and durability of tooling.
Let’s unpack the strengths and weaknesses in the context of product design and manufacturing decisions.
Advantages
| Advantage | Description |
|---|---|
| Low upfront mould cost | Using silicone rather than metal tooling means you spend less before production begins. |
| Rapid lead time for tooling | Silicone moulds can be produced in days rather than weeks for steel tooling. |
| High fidelity & surface finish | The vacuum fill removes air bubbles and gives excellent detail, allowing realistic prototypes or final parts. |
| Flexibility for design changes | Because tooling is less costly you can iterate the master and mould more readily than full production tooling. |
| Suitable for small‑batch/final use | Ideal when you need e.g. tens of parts and cannot justify full production tooling. |
Disadvantages
| Limitation | Description |
|---|---|
| Not suited to high‑volume production | Silicone moulds degrade after limited cycles; scalability is limited. |
| Dimensional accuracy & stability less than metal tooling | Variations in mould shrinkage and silicone wear means tolerances are looser than injection moulding. |
| Material restrictions | Many engineering thermoplastics (or metals) cannot be used; process is best for polyurethane elastomers/resins. |
| Manual labour and process variability | Preparing master, moulding, pouring and demoulding often involve manual steps, reducing throughput and consistency. |
| Limited size or complexity constraints | While quite capable, very large parts or very thin walls may challenge the process. |
For product design and development, vacuum casting shines when you need realistic parts fast, with good aesthetics, moderate quantities, and you anticipate design iteration. It is less suitable when you need thousands of ultra‑precise parts, high heat resistance plastics, or long‑term tooling durability.
How to apply vacuum casting in product design?
When I design a product I think ahead: will I move to full production moulding, or do I need a stop‑gap process? Vacuum casting can be that stop‑gap.
You can integrate vacuum casting into your product design workflow by using it for functional prototypes, aesthetic validation, small‑batch runs, and bridging to full production, while applying design guidelines specific for silicone‑mould casting.
Here is how I would apply vacuum casting in a product‑design scenario, with design tips, decision points, and workflow integration.
Workflow Integration
- Early design / concept model
- Functional or appearance prototype
- Bridge to production
- Small‑volume production
Design Guidelines
Geometry and wall‑thickness
- Keep walls >1.5 mm
- Avoid sharp internal corners
- Add draft angles and avoid deep undercuts
Surface finish and texture
- Match master surface with final texture
- Consider post‑cast polishing or coatings
Tolerances and fit
- Avoid overly tight fits
- Allow for shrinkage and part‑to‑part variation
Material selection
- Use polyurethane to mimic ABS, PP, rubber
- Avoid vacuum casting for parts needing high temp or structural performance
Setting expectations
- Set clear limits: not for full production
- Use for early market tests, visual models, pilot runs
Example Scenario
Imagine you are designing a wireless charger. You 3D print the master case, vacuum cast 15 samples, test assembly, evaluate finish, gather user feedback, then iterate design before injection moulding.
By applying vacuum casting in this way, you reduce risk, save cost, accelerate time‑to‑market, and maintain flexibility in product design.
What are the emerging trends in vacuum casting applications?
The manufacturing world keeps evolving, and vacuum casting is no exception — new materials, automation and niche production are shaping the future.
Emerging trends in vacuum casting include increased automation and digital workflows, use of engineering‑grade resins, integration with 3D‑print‑to‑mould pipelines, and growth in customisation and low‑volume production markets.

Here are several key trends I’m seeing, which product‑design and manufacturing teams should monitor.
1. Automation and digital integration
Vacuum casting workflows are getting more automated. Resin mixing, mould filling, and even curing can be robotised. Digital simulations also help predict flow and defects before you cast.
2. Advanced materials and functional parts
More materials are now available that mimic industrial plastics. This allows for end‑use parts, not just visual models.
3. Low‑volume production and on‑demand use
Vacuum casting is well‑suited to custom products, niche markets, and short runs. You can launch faster and change more often.
4. Hybrid 3D printing + casting
Print a high‑detail master, then vacuum cast replicas. This blends speed and finish in one workflow.
5. Sustainability
Some resins are more eco‑friendly. Also, making only what you need reduces waste compared to mass production.
6. Industry expansion
Medical, aerospace, electronics, and automotive are all seeing more vacuum casting for specific parts, especially in short runs.
If you design or source parts in low to medium volumes, it’s worth considering how vacuum casting can fit into your roadmap.
Conclusion
Vacuum casting fills a valuable niche in product development and small‑batch production. It gives you realistic, high‑fidelity parts fast and at lower cost than full tooling, while supporting design flexibility. You trade off ultimate precision, high volume scale and some materials. By integrating vacuum casting early in your design workflow, applying appropriate design guidelines, and leveraging emerging trends like automation and customised low‑volume production, you can optimise time‑to‑market and product variation potential.