Sometimes, a board looks too plain. You want to add a decorative touch, but you're unsure where to start.
To scallop a board edge with a CNC router, use the right bit, create a matching toolpath in CAM software, and run the machine with appropriate speed and feed settings.
This post walks you through every step—from bit selection to toolpath design—so you can scallop edges smoothly and avoid rookie mistakes.
What router bits work best for scalloping?
Sometimes, using the wrong bit turns a decorative idea into a chip-filled mess.
The best router bits for scalloping are round nose (ball nose), cove bits, and custom profile bits depending on the desired curve depth and width.

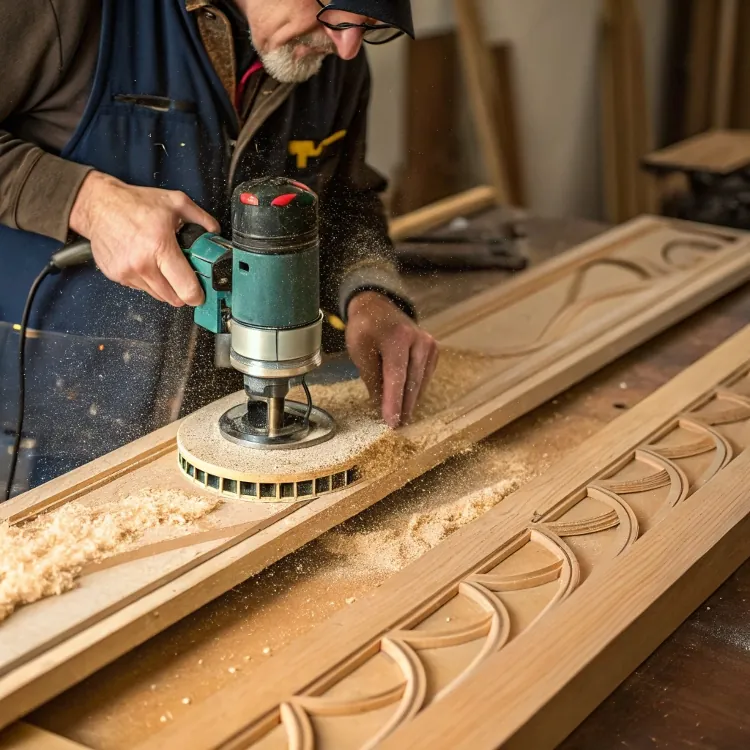
When scalloping an edge, the profile is all about smooth curves. A ball nose bit naturally shapes that curve. Cove bits work well if you want a more classic cove cut look.
Types of Bits and Their Applications
| Router Bit Type | Description | Best Use Case |
|---|---|---|
| Ball Nose Bit | Rounded tip, smooth curved cuts | Shallow scallops and 3D contours |
| Cove Bit | Concave profile | Classic decorative scallops |
| Custom Profile Bit | Designed to spec | Consistent complex curves |
Some users even combine bits in multiple passes—using a straight bit to rough out the edge, and then finishing with a ball nose. This improves tool life and gives cleaner cuts.
For a deeper or wider scallop, choose a larger diameter bit. But ensure your router can handle the bit's size and depth in one pass, or use multiple shallower passes.
How do you design scallop toolpaths in CAM software?
It’s easy to imagine the look. But getting your CAM software to make that exact toolpath? That’s the hard part.
Use 3D contouring or 2D profile strategies in your CAM software, selecting your chosen router bit and applying step-overs that match the scallop width and depth.
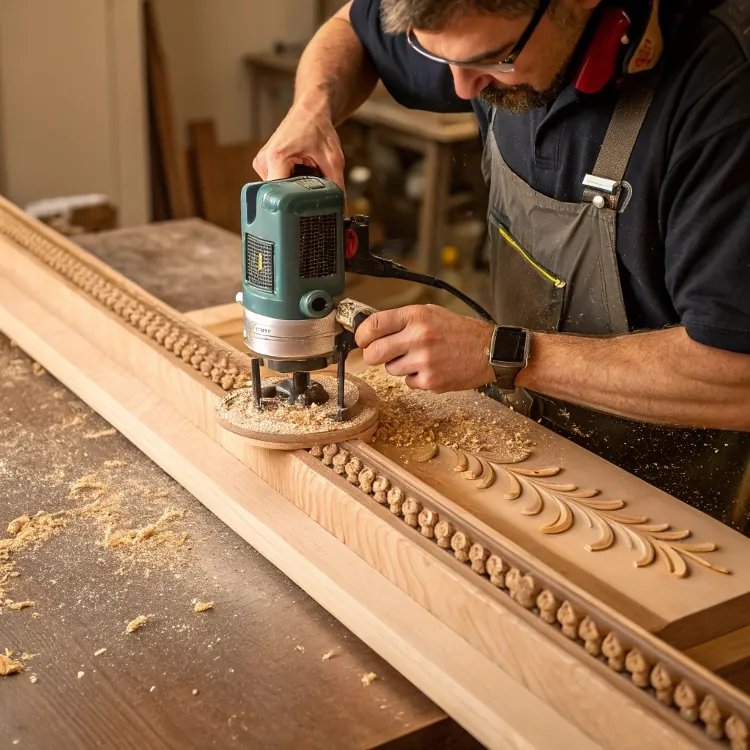
You start by importing the board’s profile into your CAM software. This can be a simple rectangle or something more complex. Then, create a 2D contour if you use a cove bit, or a 3D contour if using a ball nose bit.
Key Steps in CAM Toolpath Setup
- Select the tool: Choose the router bit that fits your design.
- Set the toolpath type:
- For ball nose: Use a 3D scallop or contour path.
- For cove: Use a 2D profile along the edge.
- Adjust depth and step-over:
- Depth matches how deep you want the scallop.
- Step-over affects smoothness (smaller is smoother).
- Preview the path: Always run a simulation.
If you want repeating scallops along the board, use an array pattern. CAM programs like Fusion 360 or VCarve let you define a custom pattern and apply it along a path or straight line.
What feed and speed settings prevent tear-out?
You’re halfway through a beautiful scallop, then suddenly—chip-out. Your edge is ruined.
To avoid tear-out, reduce feed rate, increase spindle speed slightly, and make shallow passes with sharp bits. Upcut bits often help lift chips cleanly.
Let’s say you're using a ?” ball nose bit on hardwood. You want a clean finish, so here's a general setting table:
Recommended Feed & Speed (example for hardwood)
| Bit Size | Feed Rate (mm/min) | RPM (Spindle Speed) | Depth per Pass | Notes |
|---|---|---|---|---|
| 1/4” | 1000–1500 | 18000–22000 | 1–2 mm | Use sharp carbide bits |
| 1/8” | 800–1000 | 20000–24000 | 0.5–1 mm | Slower feed for cleaner cut |
Tips to reduce tear-out:
- Use climb milling rather than conventional milling.
- Apply masking tape along the edge before routing.
- Pre-seal the edge with shellac or wood sealer.
- Use a sacrificial backer when routing near the edge.
Tear-out often happens because of dull bits, overly aggressive passes, or improper chip removal. So always inspect your bit before every session.
How to avoid common scalloping mistakes?
You follow the steps, but your scallops look uneven or have rough edges. What went wrong?
Avoid scalloping mistakes by checking your bit sharpness, securing your workpiece, using multiple shallow passes, and simulating the toolpath before cutting.
Here are five frequent mistakes and how to prevent them:
Common Mistakes & Fixes
| Mistake | Cause | How to Fix |
|---|---|---|
| Uneven scallops | Wrong step-over in CAM | Adjust step-over in toolpath setup |
| Burn marks | Bit too slow or dull | Increase feed or replace bit |
| Tear-out near edge | Wrong milling direction | Use climb milling and backing board |
| Rough surface | Too fast feed or deep pass | Use multiple shallower passes |
| Bit chatter or vibration | Loose workpiece or wrong RPM | Clamp properly and check tool speed |
Check your router rigidity—a loose Z-axis can wobble and distort the cut. Always double-check your machine zeroing, especially for repeat cuts.
Also, when working with long boards, scalloping only one side can sometimes warp the piece due to material tension. Consider scalloping symmetrically or storing boards flat after routing.
Conclusion
Scalloping with a CNC router takes practice, but with the right bit, settings, and toolpath, your edges will look clean and consistent every time.