
Engineering projects often delay because of improper heat‑sink installation. Recognising that risk is the first step to doing it right.
Proper installation of a heat sink ensures thermal performance, component reliability and system longevity by following correct steps, verifying mounting pressure, using the right tools and performing safety checks.
Now I’ll walk you through how to install a heat sink correctly, how to verify mounting pressure, what tools to use for alignment, and what safety checks to run after installation.
What steps guide heat sink installation?
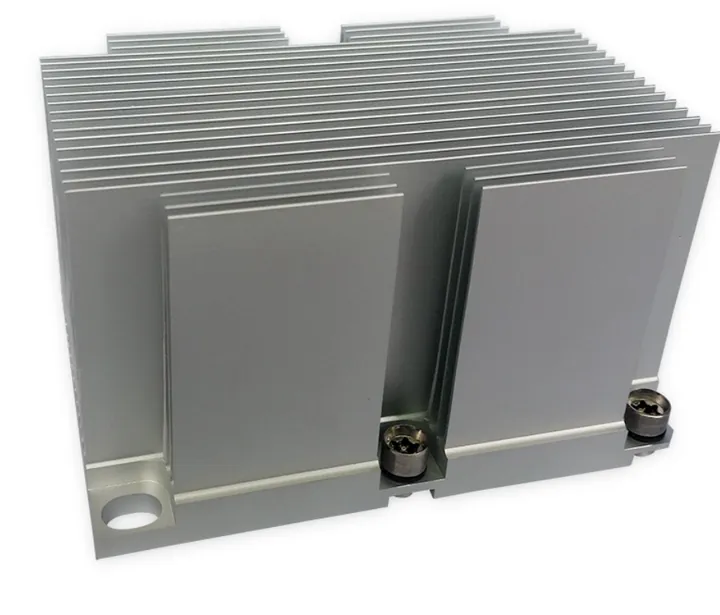
When I install a heat sink on a device (for example an aluminium extruded heat sink on an LED module or an electronics housing) I follow a structured sequence to avoid mistakes and ensure system performance.
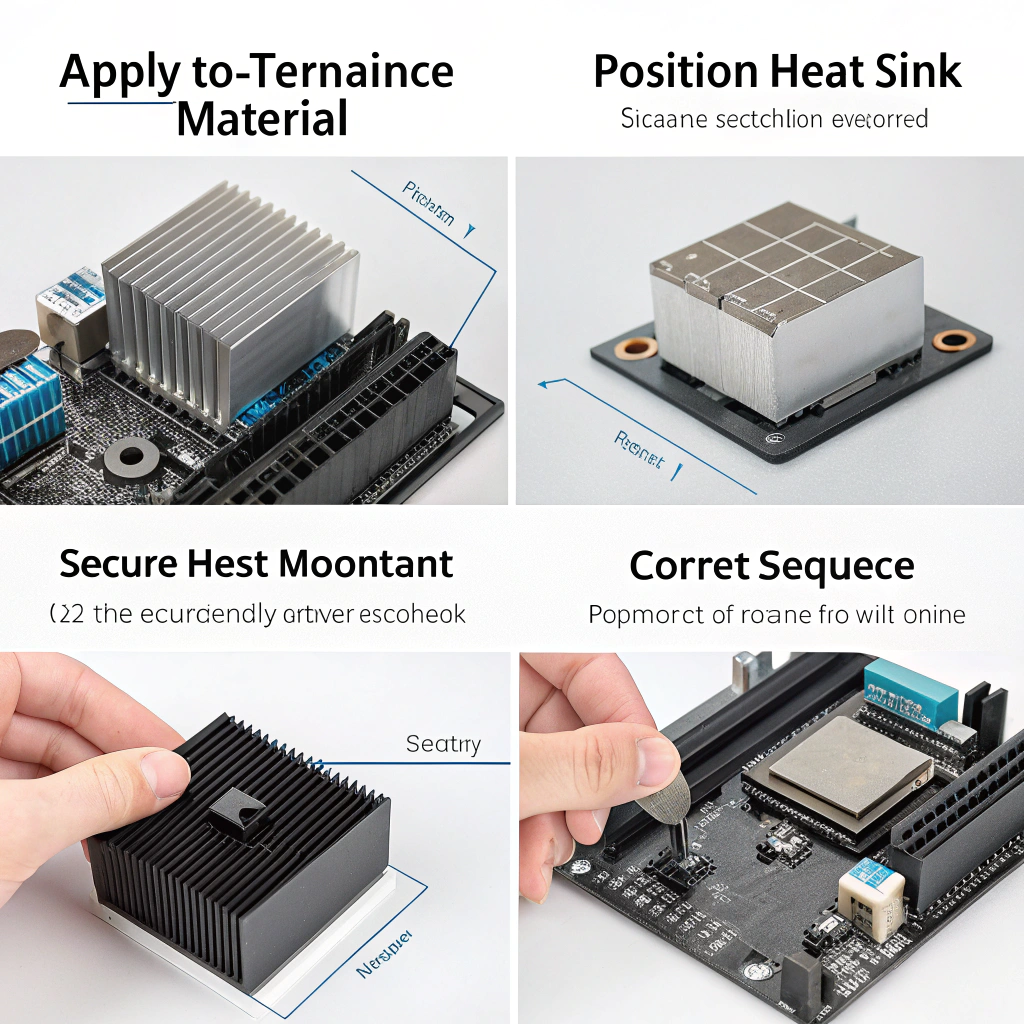
Step‑by‑step process
- Prepare the surface and parts
- Apply thermal interface material correctly
- Position the heat sink
- Secure mounting with correct sequence
- Connect any peripherals
- Initial testing and verification
Why following steps matters
By using this structured procedure, I reduce risks of:
- Air‑gaps between surfaces that block heat conduction
- Uneven pressure causing hotspots
- Thermal interface material pumping out or degrading prematurely
- Mounting screws loosening over time due to vibration
How do engineers verify mounting pressure?
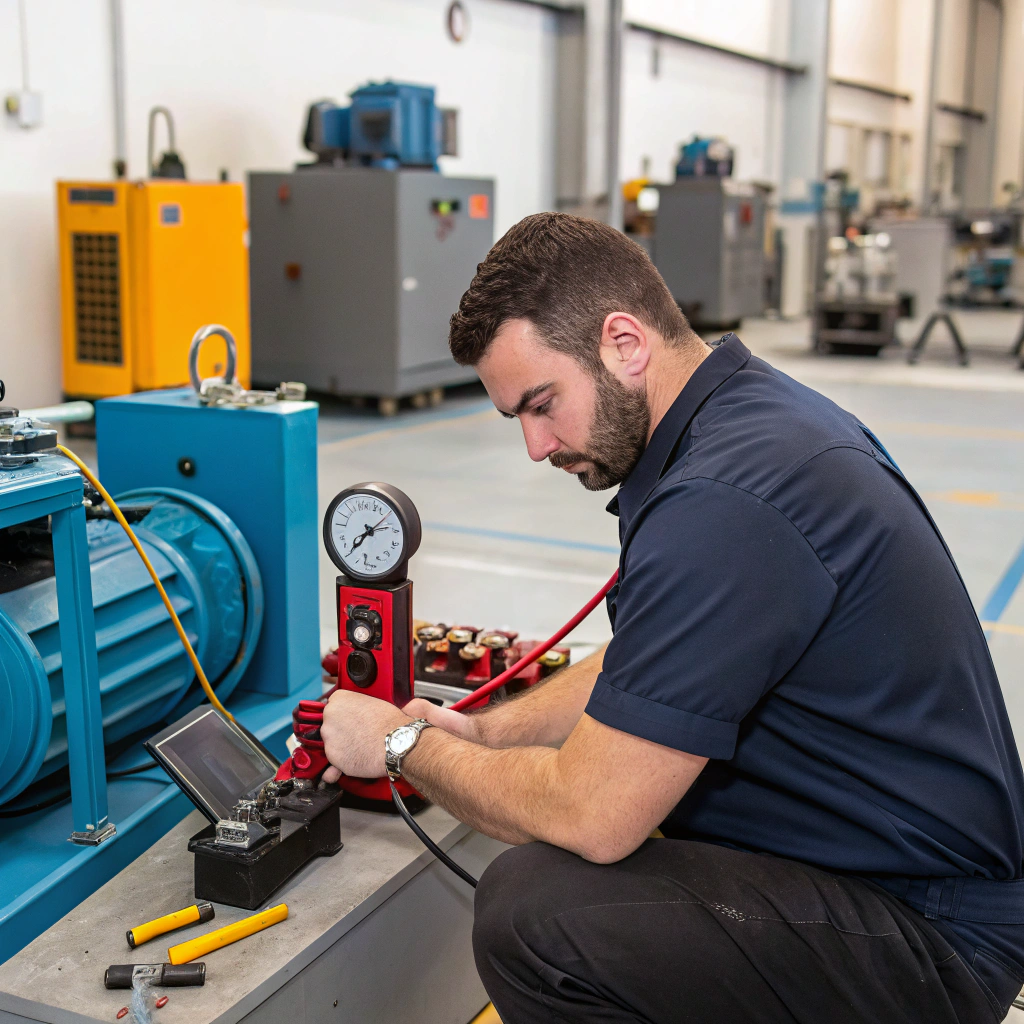
Applying the correct mounting pressure is critical for a heat sink’s thermal interface and mechanical reliability. Too little pressure means poor contact; too much can damage components or deform parts.
Methods engineers use to verify mounting pressure
- Specified torque values
- Spring‑loaded fasteners or washers
- Pressure test or shim‑check
- Temperature benchmarking
- Mechanical inspection post‑vibration or burn‑in
Practical checklist for verifying mounting pressure
| Check point | Purpose |
|---|---|
| Correct fastener type & size | Ensures the specified torque is valid |
| Torque screwdriver calibrated | Guarantees accurate force applied |
| Surface flatness tolerance verified | Avoids gaps causing poor interface contact |
| Interface material properly seated | Ensures surfaces are contiguous |
| Post‑mount temperature measured | Validates thermal path is working |
Which tools ensure proper alignment?

Proper alignment of a heat sink ensures that the contact surfaces are flush, mounting holes match, and components around the assembly are not obstructed.
Essential tools and their use
- Torque screwdriver or wrench
- Flatness gauge / feeler gauges
- Calipers or micrometers
- Alignment jig or fixture
- Thermal imaging camera
- Straight‑edge and light‑source
- Dial indicator / height gauge
Recommended workflow
- Inspect surface with straight‑edge
- Measure heat sink height and clearance
- Use jig or pins for positioning
- Apply torque screws in sequence
- Test thermal performance
- Record settings for traceability
Why alignment matters
Mis‑alignment can cause:
- Reduced thermal conduction
- Mechanical stress or warping
- Airflow restriction
- Uneven pressure leading to failure
Are safety checks required after installation?

Yes — safety and functional checks after installation are just as important as the mechanical steps.
Key safety and functional checks
- Electrical safety check
- Mechanical stability check
- Thermal performance check
- Airflow / system cooling check
- Labeling and documentation
- Environmental & compliance check
- Final run‑in inspection
Why we cannot skip safety checks
Skipping checks has caused:
- Thermal runaway
- Vibration-related loosening
- Warranty claims
- Regulatory violations
A formal safety check sheet strengthens your B2B value and shows your customers you deliver more than just hardware — you deliver reliable thermal performance.
Conclusion
Installing a heat sink correctly goes beyond placing a metal part on a component. It means following structured steps, verifying mounting pressure, using the right alignment tools, and completing thorough safety checks. When I apply this mindset every time, I reduce failure risk and increase system reliability.