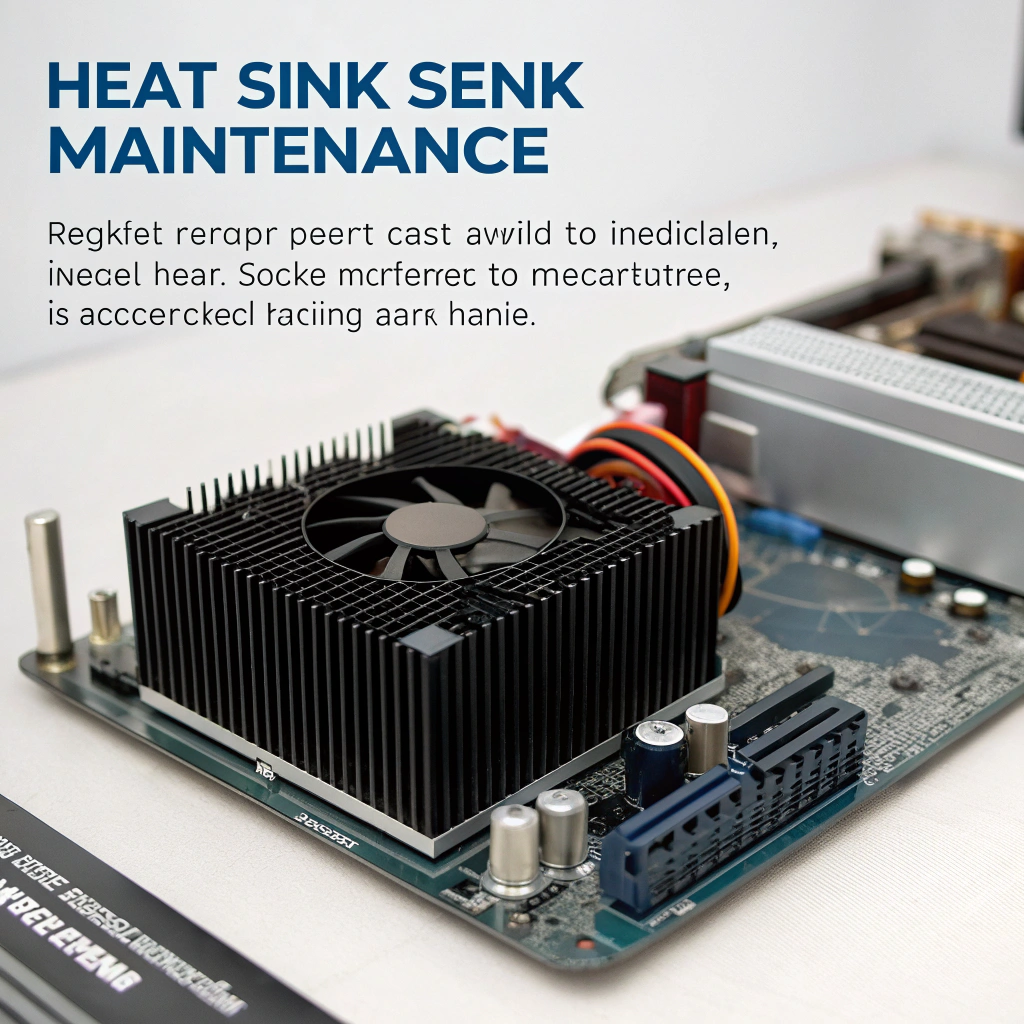
In many systems I manage, neglecting the heat sink means higher temps, lost uptime, and faster part wear.
Keeping a regular maintenance schedule and knowing when a heat sink must be replaced keeps everything running reliably.
Now I’ll walk you through what defines maintenance needs, how often to inspect, what failure signs mean replacement time, and how cleaning varies by material.
What defines heat sink maintenance needs?
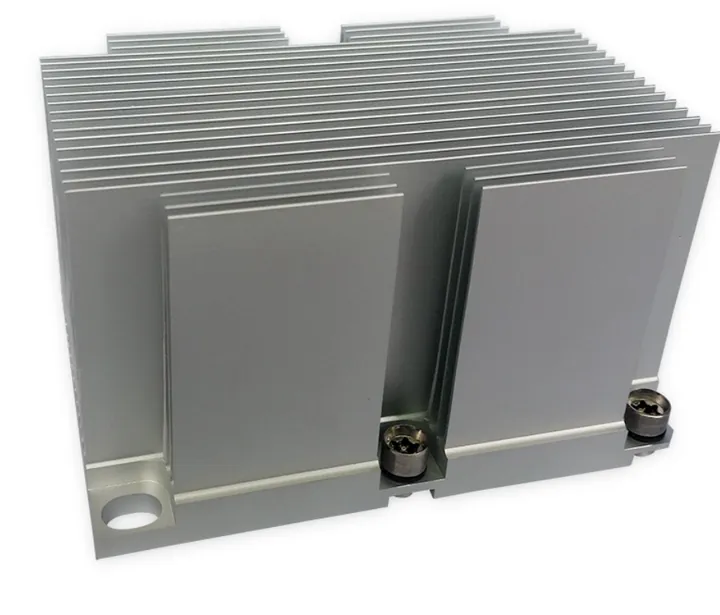
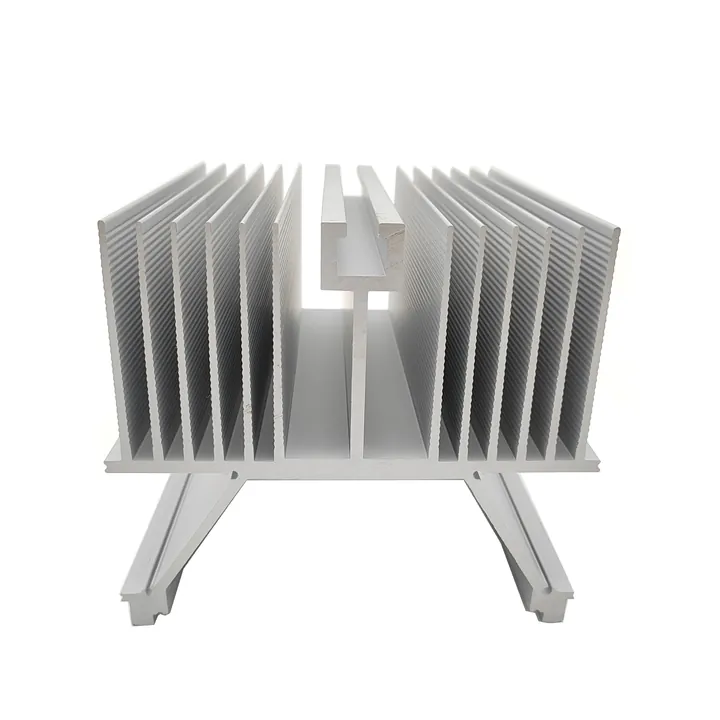
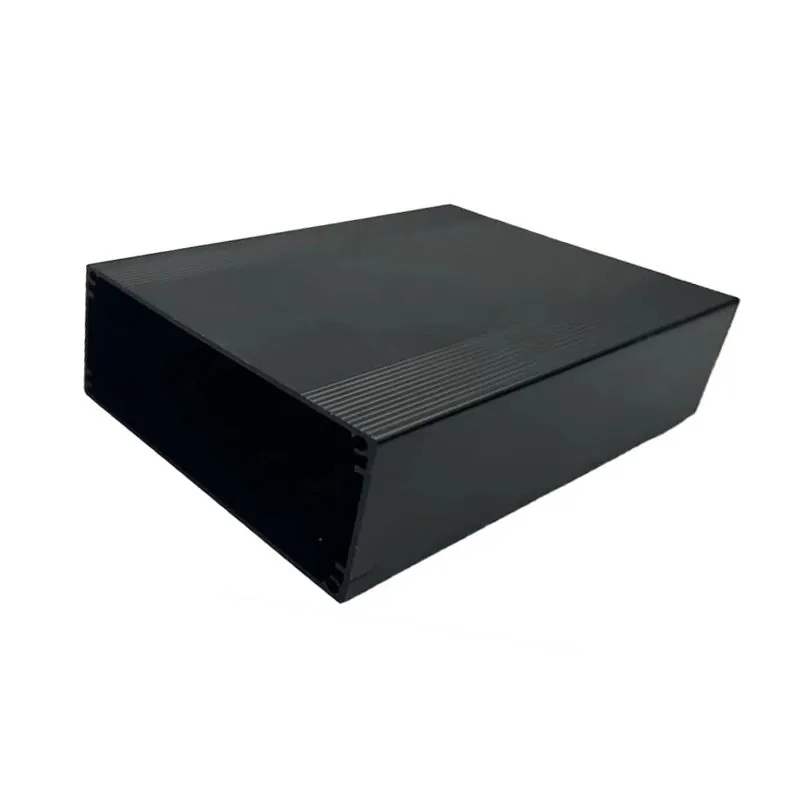
When I evaluate a heat sink — especially aluminium extruded or industrial designs — I look at the thermal path, environment, and usage.
Maintenance becomes necessary when airflow is blocked, thermal interfaces degrade, or the surface condition or mounting integrity declines.
Key factors that drive maintenance
- Dust accumulation blocks airflow and reduces cooling.
- Aged thermal interface material (TIM) like thermal paste or pads can shrink or dry out.
- Surface corrosion or oxidation reduces heat transfer.
- Loose mounting or warped baseplates affect contact.
- Load increases or environment changes may exceed original design capacity.
How I assess maintenance needs
| Condition | What to check |
|---|---|
| Airflow | Are fins clogged with dust? |
| Surface contact | Is TIM dry or cracked? |
| Temperature performance | Are operating temps higher than initial baseline? |
| Physical damage | Are there bent fins or corrosion? |
If the same component starts running hotter over time without a change in load, I take that as a clear signal to inspect and service the heat sink.
In high-dust regions or outdoor environments, aluminium heat sinks can lose efficiency fast. I’ve learned that early maintenance prevents costly downtime later.
How often should heat sinks be inspected?
Waiting until components overheat is risky. I always prefer planned inspections over emergency fixes.
For best results, inspection frequency depends on the environment and application type.
Recommended inspection intervals
| Environment Type | Inspection Frequency |
|---|---|
| Clean, indoor use | Every 12 months |
| Office or moderate dust levels | Every 6 months |
| Industrial / outdoor exposure | Every 3–4 months |
| 24/7 or high-load systems | Quarterly or bi-monthly |
In dusty or humid conditions, even anodised aluminium can show oxidation or lose efficiency faster than expected.
Standard inspection steps I follow
- Clean fins using compressed air or vacuum.
- Check case and ambient temperatures under normal load.
- Inspect for cracks, discoloration, or mounting shifts.
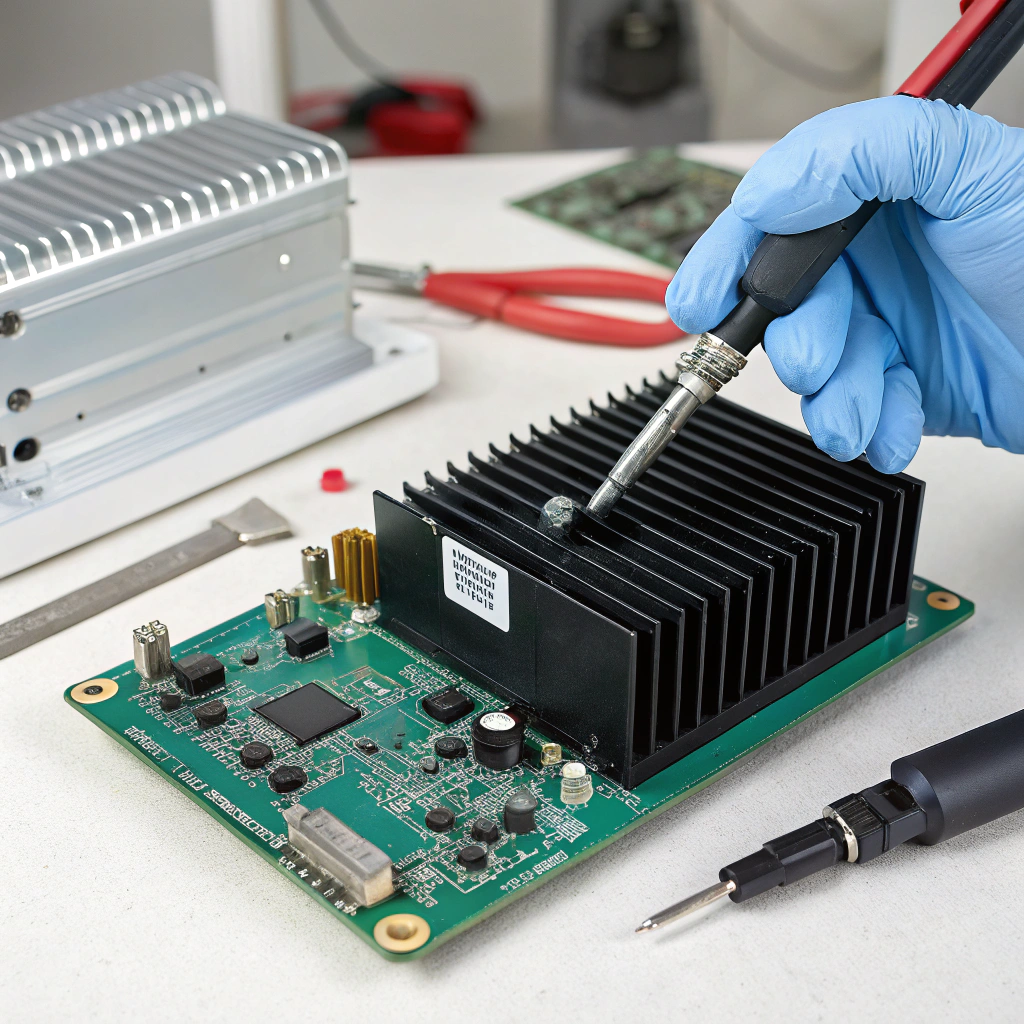
- Reapply TIM if it looks dry, shrunk, or brittle.
- Verify torque of all screws and brackets.
By logging these checks and keeping before/after temperature records, I can track long-term performance and predict failure before it happens.
Clients who use my heat sink products in hot or dusty climates like North Africa or the Middle East benefit most when they follow this routine.
Which failures signal replacement time?

Sometimes cleaning isn’t enough. When the heat sink can no longer perform its job, replacement is the only solution.
Persistent overheating, visible damage, or degraded performance despite maintenance are clear signs it's time to replace.
Typical signals I use to trigger replacement
- System keeps overheating even after cleaning and re-timing.
- Frequent thermal shutdowns or performance throttling.
- Physically damaged fins, bent frames, or warped bases.
- Repeated issues even after servicing — indicating material fatigue.
- System upgrades that exceed the heat sink’s original capacity.
Replacement decision guide
| Condition | Maintenance? | Replace? |
|---|---|---|
| Dusty but intact | Yes | No |
| TIM dry but heat sink OK | Yes | No |
| Bent fins or loose contact | No | Yes |
| Rising temps after service | Maybe | Yes |
| System load exceeds design spec | No | Yes |
One example from my own experience: A customer using CNC machinery in a coastal factory noticed overheating even after cleaning. The salt in the air had corroded the aluminium base. Replacement was the only option.
When I see warped extrusion, flaking anodised coating, or consistent thermal lag — I advise replacing, not repairing.
Are cleaning methods different by material?
Yes — I always match the cleaning process to the material and surface treatment to avoid damaging the heat sink.
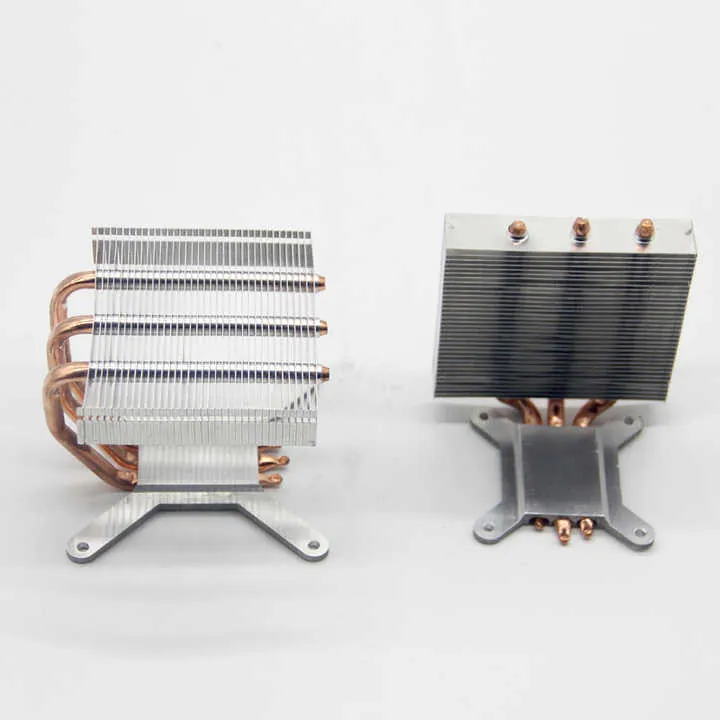
Aluminium, copper, and coated surfaces each require different approaches to maintain performance and surface integrity.
Cleaning comparison by material
| Material / Coating | Cleaning Method | Tips |
|---|---|---|
| Bare aluminium | Compressed air, soft brush, mild wipe | Avoid abrasives, check for oxidation |
| Anodised aluminium | Soft cloth, air, water-based cleaners | Don’t use strong solvents — they damage coating |
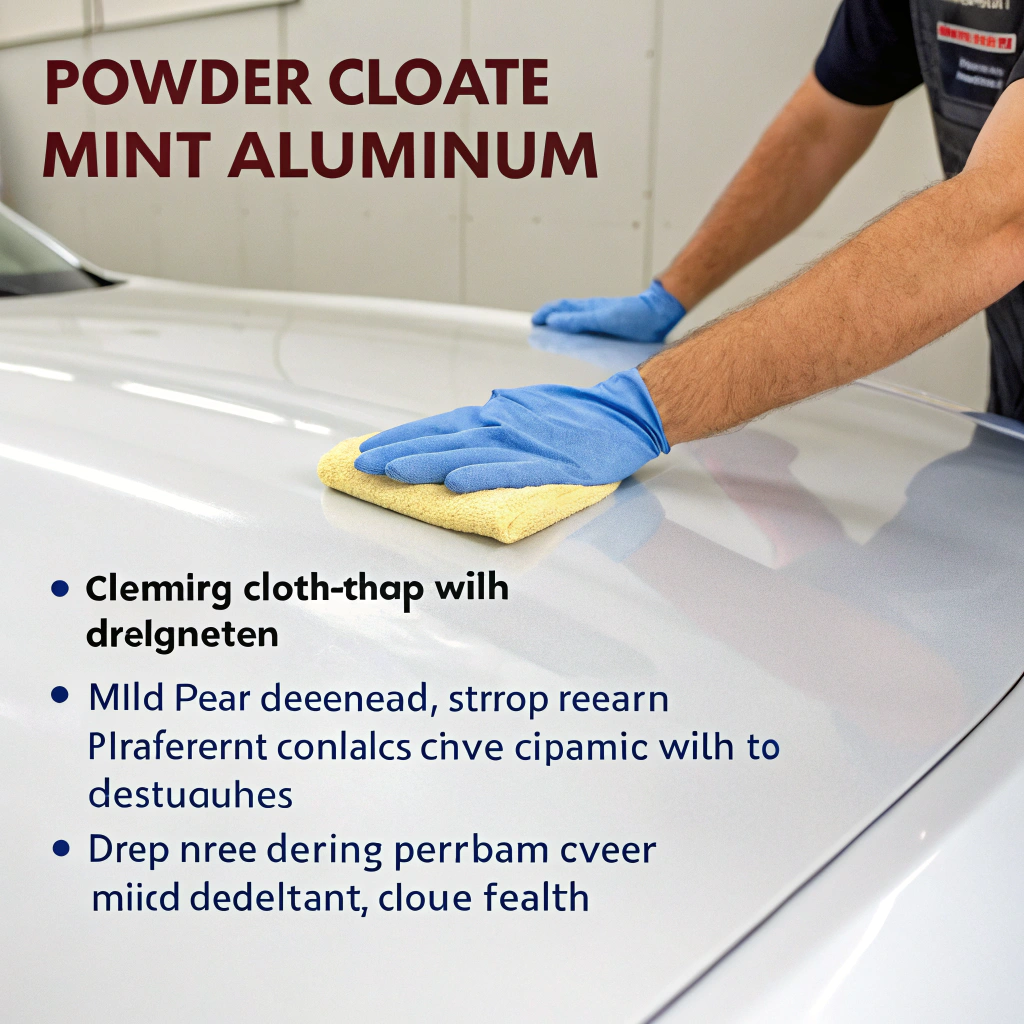
| Powder-coated aluminium | Damp cloth, mild detergent | Rinse and dry fully to prevent streaks |
| Copper | Brush, low-strength acid-based cleaner | Avoid scratching; polish if tarnished |
| Tight-fin heat sinks | Vacuum or thin-nozzle blower | Go slow to avoid bending delicate fins |
My cleaning routine
- Turn off and unplug system.
- Blow dust out of fins from rear to front (opposite of airflow).
- Use soft cloth and alcohol to clean mounting surfaces.
- For TIM removal, use isopropyl alcohol on a lint-free wipe.
- Check for discoloration or corrosion during cleaning.
- Log cleaning date and thermal test result after restart.
If the unit has surface treatments like anodising or gradient finishes (as in many of my products), I remind the client to avoid harsh solvents and to rinse gently.
Also, larger extruded heat sinks — especially 300–400mm types — may collect uneven dirt and need section-by-section cleaning. A consistent process makes it manageable.
Conclusion
Heat sink maintenance and replacement are not just afterthoughts — they are critical to long-term system performance. I always define maintenance triggers clearly, inspect regularly, know when it's time to replace, and tailor my cleaning method to each material. This saves money, time, and ensures stable thermal management for every system I work with.