I remember the first time a client urgently requested a custom heat sink sample within two weeks. It seemed impossible — until we mapped out the right process.
The sample production process for heat sinks includes design confirmation, material preparation, machining or extrusion, surface finishing, and quality inspection before delivery.
Understanding this step-by-step process is the key to smooth project launches and fewer delays later on.
What is the sample production process for heat sinks?
Many customers assume that making a sample is just like making the final product, but faster. That’s not quite true. The sample process is often treated as a mini-project on its own.
Sample production for heat sinks involves a specific workflow: drawing confirmation, tool setup or CNC programming, material preparation, prototype machining or extrusion, surface treatment, and final inspection.
Typical sample production stages
1. Design Review
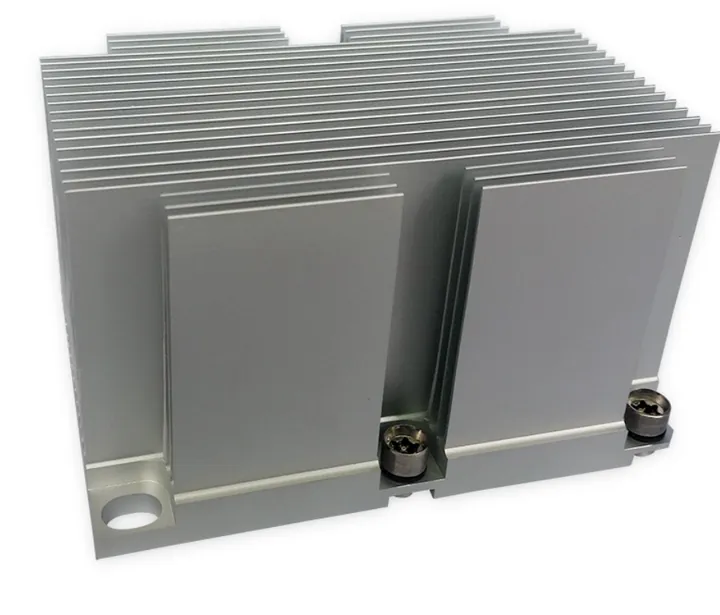
The process starts with a 2D drawing or 3D model. The factory's engineering team checks for feasibility — such as wall thickness, fin density, tooling limits, and heat dissipation targets.
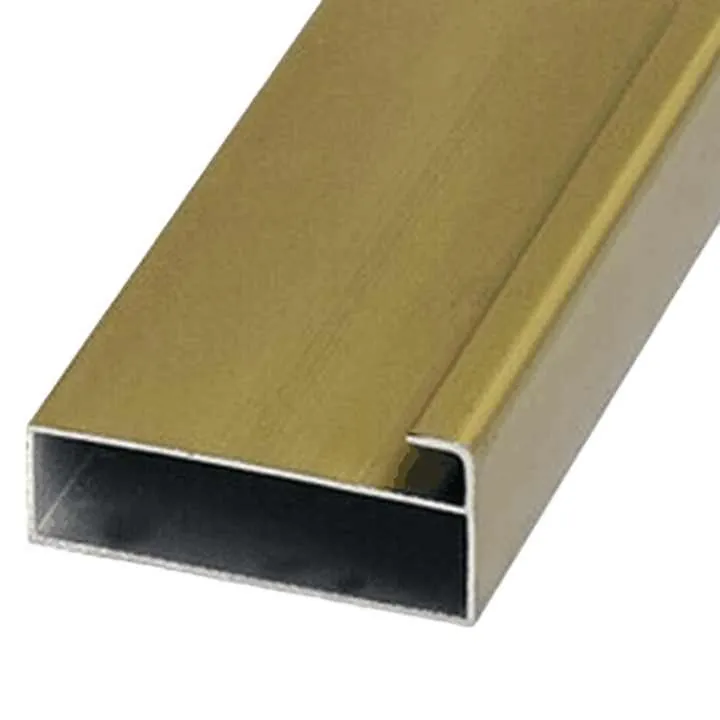
2. Material Selection
Most samples are made from 6063-T5 aluminum, unless the design calls for copper or a special alloy. If raw material is not in stock, the sample process may be delayed.
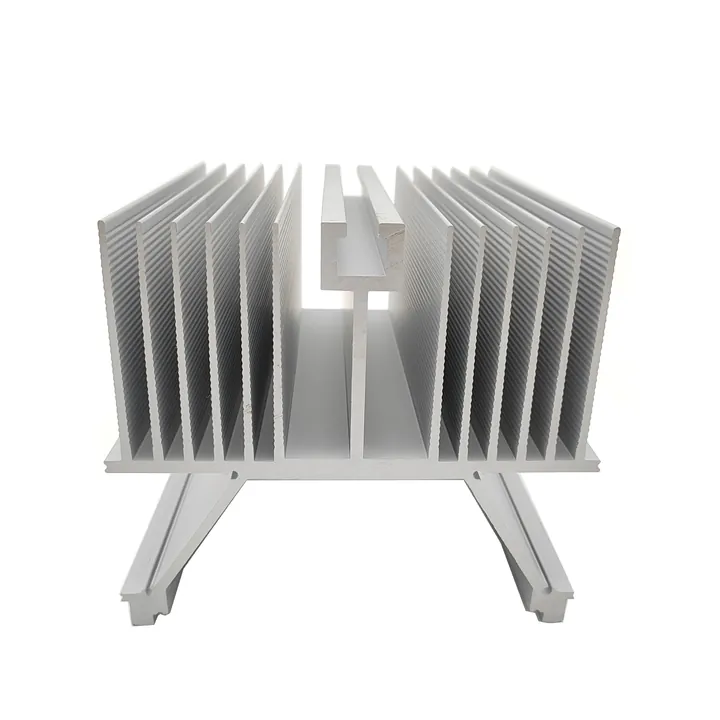
3. Tooling or CNC Setup
If it’s an extrusion, a new die may be needed. That die takes 3–4 weeks to prepare and test. For CNC or skived heat sinks, CAM programming and fixture preparation come first.
4. Machining / Extrusion
Once setup is ready, machining or extrusion is scheduled. CNC parts may be made in 1–3 days. Extruded parts need extra time to cool, cut, and age.
5. Surface Finish
Samples may include anodizing, powder coating, or polishing. Sometimes color matching is part of the evaluation process.
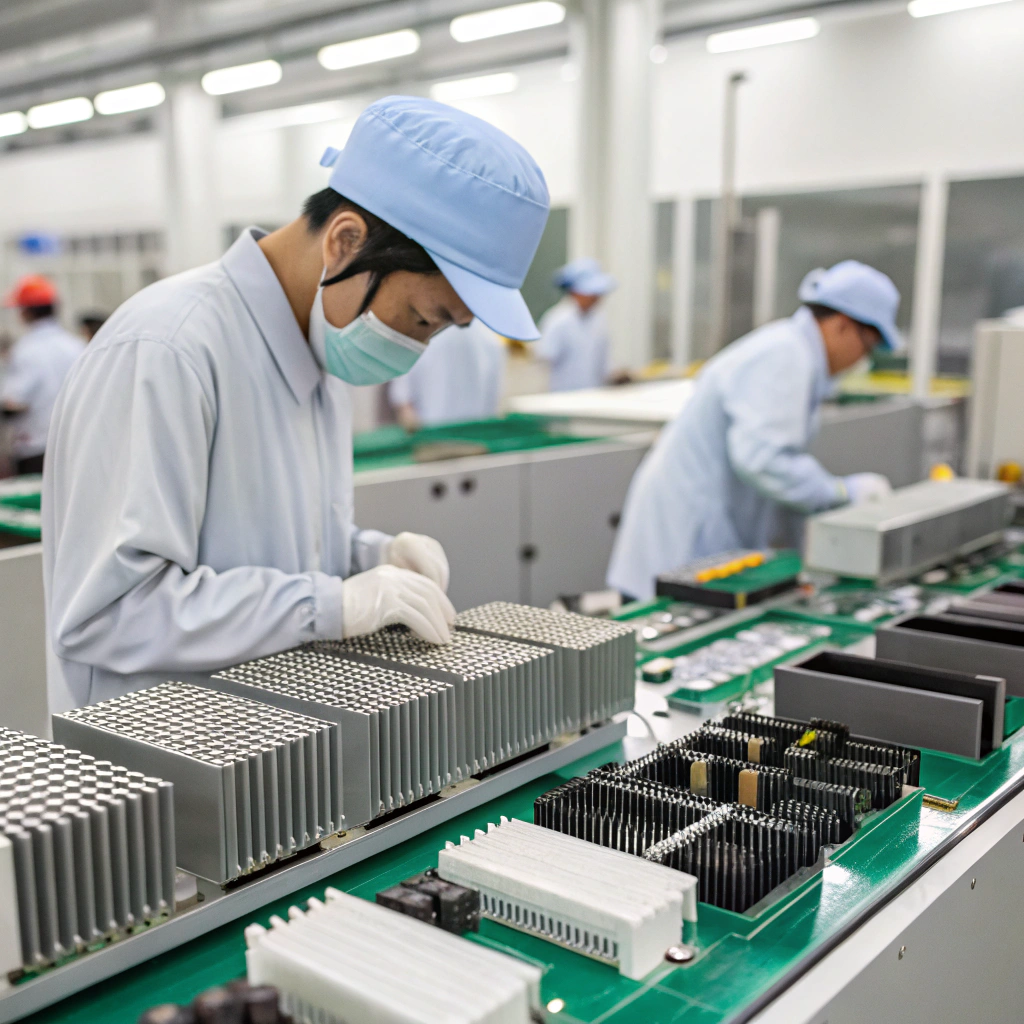
6. Quality Inspection
Each sample is inspected for dimension, flatness, and surface finish. Test reports or photos are often shared with the client for remote approval.
7. Packaging & Shipping
The finished prototype is carefully packed — usually with foam or bubble wrap — and shipped with documentation.
Table: Sample Production Overview
| Stage | Time Needed | Notes |
|---|---|---|
| Drawing Confirmation | 1–3 days | Includes manufacturability review |
| Tooling (if needed) | 3–4 weeks | For extrusion or die casting |
| CNC Setup & Machining | 2–4 days | Faster if fixture library is available |
| Surface Finish | 2–5 days | Anodizing adds 2 days; painting adds more |
| QC & Packaging | 1–2 days | Includes photos, dimensions, and packing |
I’ve handled samples that were turned around in five working days, and others that took five weeks. It all depends on whether tooling is needed and how custom the request is.
Why is sample production important?

I always tell customers: your first sample is your most important order. Why? Because everything you do later depends on how well the sample performs.
Sample production is critical because it validates design feasibility, checks heat sink performance, and ensures manufacturing readiness before mass production.
Why skipping samples is risky
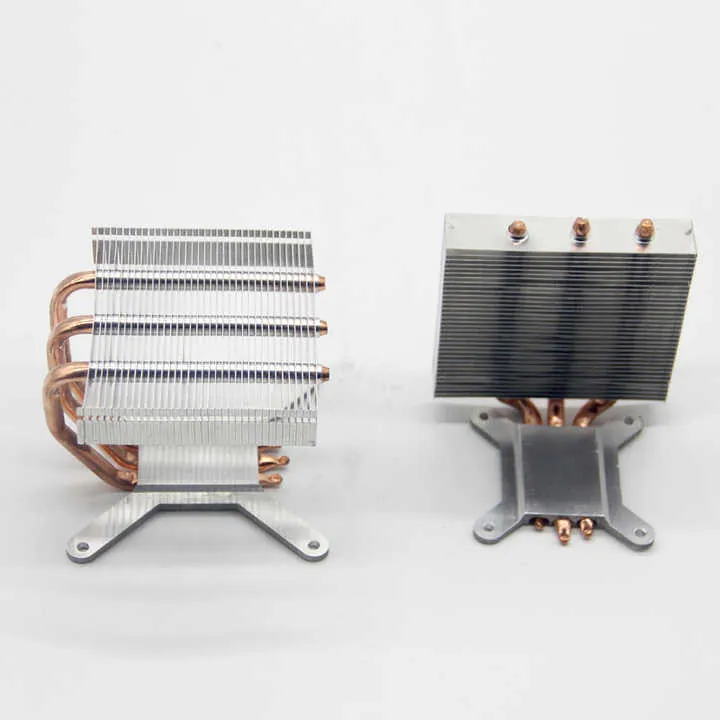
1. Performance failure
Without a real part, thermal simulations and design models are only assumptions. A sample lets you measure real heat dissipation, airflow behavior, and fit within your system.
2. Fit and tolerance issues
Drawings don’t always account for stacking tolerance, assembly stress, or finishing variations. A physical prototype helps catch problems before large quantities are produced.
3. Surface quality confirmation
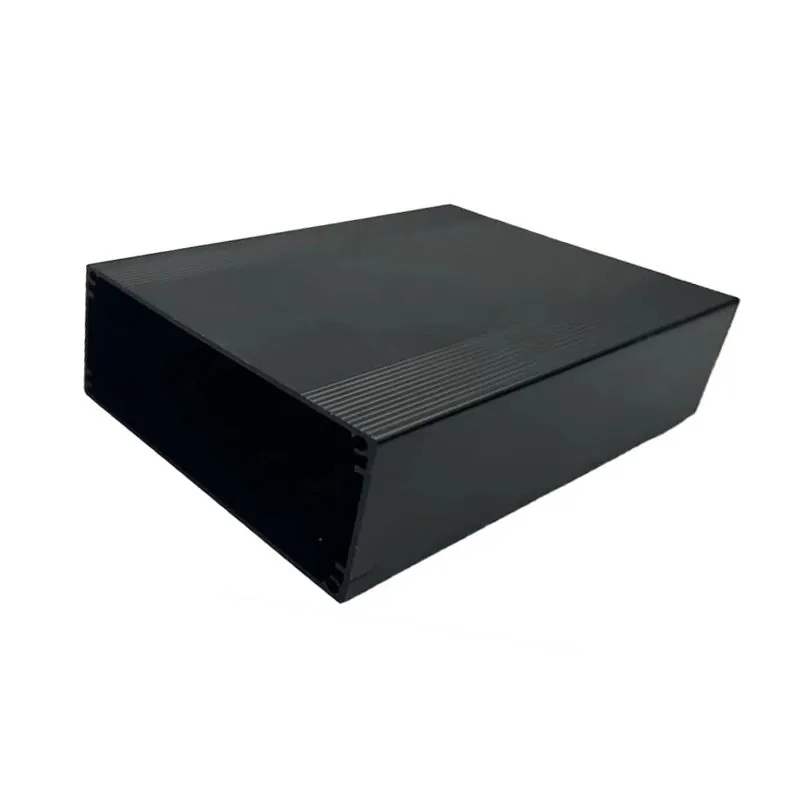
If your project requires anodized black heat sinks for visual products like lighting or audio, finish quality matters. The sample lets you confirm surface consistency, color tone, and texture.
4. Functional testing
Some heat sinks must pass vibration, corrosion, or drop tests. This can't be done on screen — only on a physical sample.
5. Process evaluation
Sample production helps verify if your supplier can handle the process. It shows their quality control level, packaging method, and communication ability.
My own experience
I worked on a project for a solar equipment company where the first prototype had poor airflow due to over-dense fins. The simulation missed it. The physical sample revealed the issue, we revised the profile, and only then started production. That one sample saved us thousands in rework costs.
How to prepare for sample evaluation?
Many buyers receive a sample and then realize they don’t have a plan to test it. I’ve seen teams delay final approval for weeks simply because they didn’t know what to check.
To evaluate a heat sink sample effectively, prepare a checklist covering dimensions, thermal performance, surface finish, fit with mating parts, and packaging.
Sample evaluation checklist
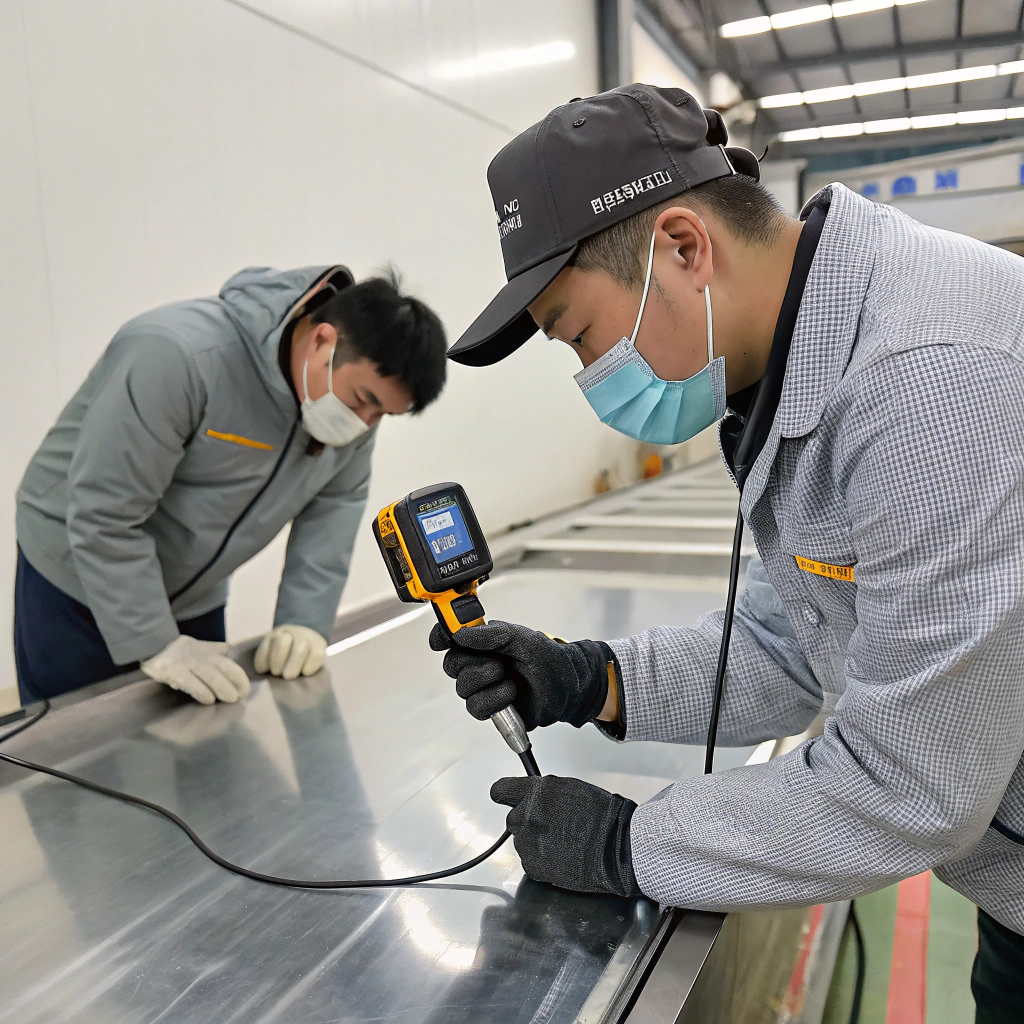
A. Dimensional Check
Use calipers or gauges to confirm key measurements. Tolerances should match your technical drawings.
B. Thermal Performance
Mount the heat sink on your device and test real-world thermal output. Use thermocouples or infrared cameras if needed.
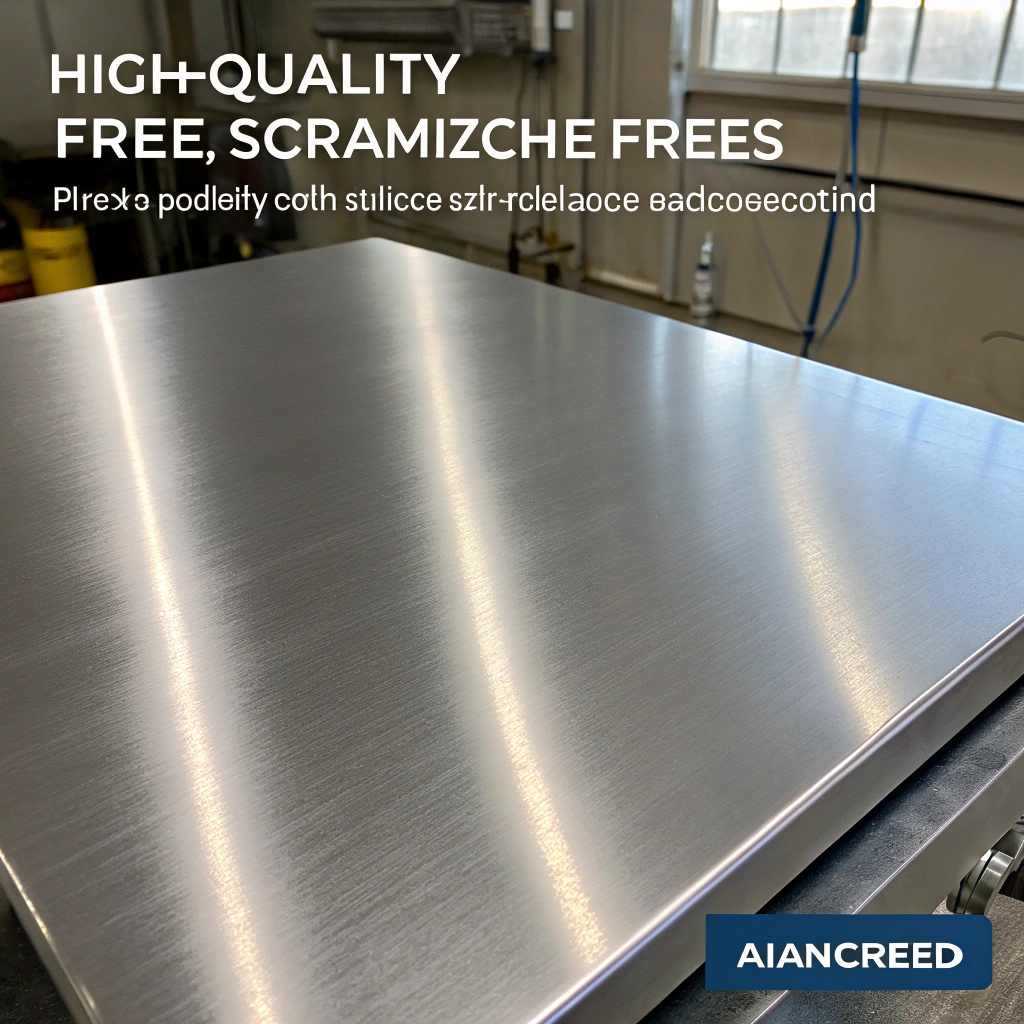
C. Surface Finish
Inspect anodizing, coating, or texture under normal and bright light. Note any scratches, color inconsistency, or rough areas.
D. Assembly Fit
Check how the sample fits into your enclosure or assembly. Pay attention to hole locations, clip areas, and mounting points.
E. Functional Test
If the heat sink is part of a critical system (e.g., LED lighting or motor drive), run stress tests under load to verify performance.
F. Packaging Review
Observe how the sample was packed. If it’s a fragile design, good packaging is essential for mass orders.
Table: Evaluation Criteria
| Evaluation Point | What to Look For |
|---|---|
| Size & Shape | Within tolerance range |
| Finish Consistency | No color variation or scratches |
| Fit With Assembly | Holes align, no interference |
| Cooling Efficiency | Matches or improves expected temps |
| Labeling & Marking | Clear and accurate if required |
| Packaging Protection | No shipping damage or loose parts |
I recommend clients prepare a short approval form or feedback sheet. This makes communication with the factory easier and speeds up final confirmation.
What trends improve prototype development?

Prototyping has changed a lot in the past 10 years. It used to take a month just to get a sample. Now, with digital tools and flexible methods, I’ve seen parts delivered in under a week.
Modern trends like digital simulation, rapid machining, soft tooling, and global logistics have dramatically improved prototype development speed and accuracy.
Top trends driving faster sampling
1. Digital Simulation Before Manufacturing
Many factories now use software to simulate extrusion flow, heat distribution, and airflow before even cutting metal. This reduces failed samples and helps designers get closer to the target on the first try.
2. CNC and Soft Tooling
CNC machining allows small batch samples without making dies. For complex parts, soft tools can be used — they’re cheaper and faster than full production tooling.
3. In-House Finishing
Some suppliers now have in-house anodizing or powder coating lines just for samples. That cuts waiting time and avoids coordination delays with external partners.
4. Faster CAM Programming
Modern CAD/CAM tools allow engineers to generate code in hours, not days. This shortens machining prep time, especially for repeat customers.
5. Express Shipping and Sample Couriers
DHL, FedEx, and dedicated freight forwarders can now move samples door-to-door in under five days worldwide. Some factories even offer “48-hour express” sample services.
What you can do to take advantage
- Choose manufacturers with in-house CNC capability
- Provide 3D files (STEP, IGES) to speed up programming
- Be clear about which finish is essential for sample vs mass production
- Approve design early and avoid mid-process changes
- Pay for express services when timeline matters
The best results come when you and the supplier treat the sample like a mini-launch — fast, focused, and intentional.
Conclusion
Sample production for heat sinks is more than just making one unit — it’s the most important step in setting up your full project. From drawing confirmation to real-world testing, each step plays a role in reducing risk and improving quality. With modern tools and better planning, sample production can now be faster, cheaper, and more accurate than ever before.