When you're developing a new part and need to see how it looks, fits, and functions in real life, you can't afford to wait weeks for a mold or die.
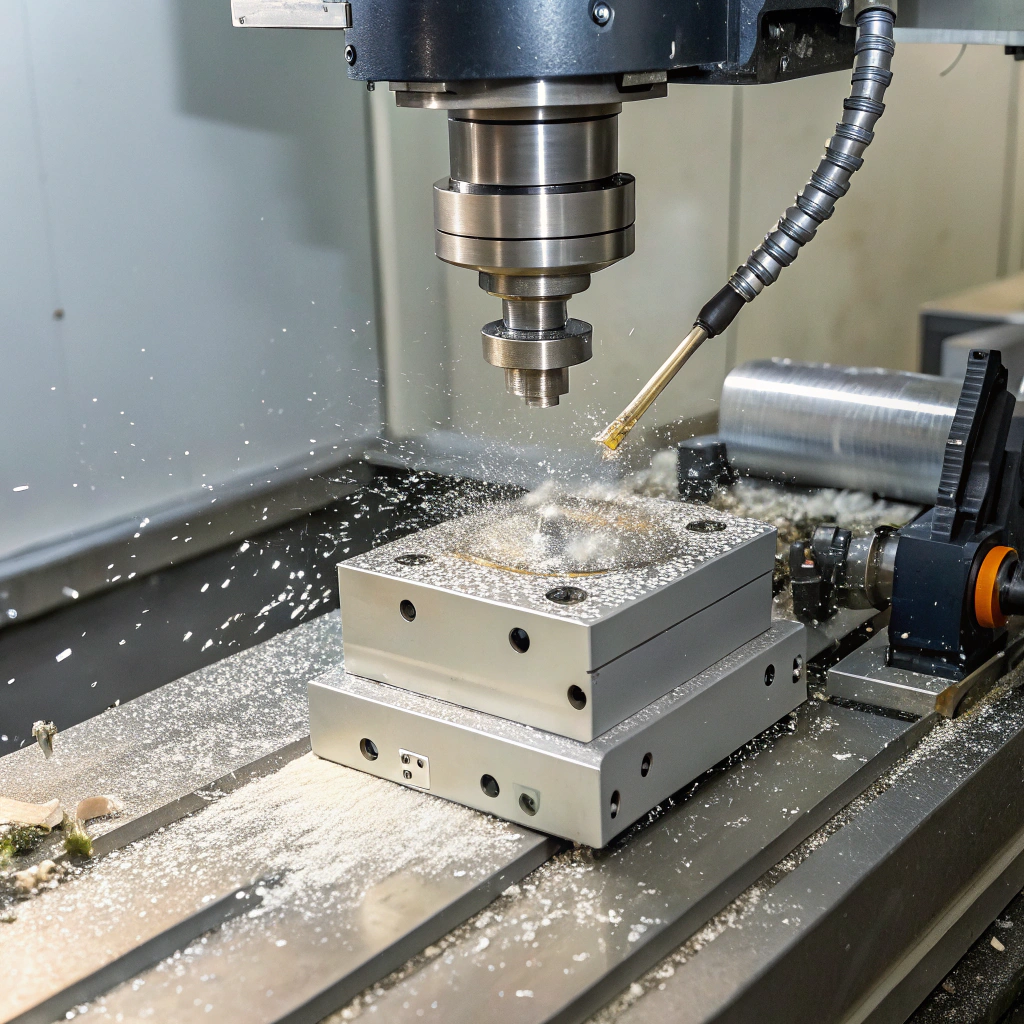
Prototype CNC machining is the process of using computer-controlled equipment to quickly produce functional, high-precision prototypes directly from CAD designs.
It's ideal for testing and validating ideas before committing to full production.
Getting it right at the prototype stage saves time, money, and headaches later on. Here's how the process works, why it's so valuable, how to carry it out effectively, and where the technology is headed.
What is prototype CNC machining?

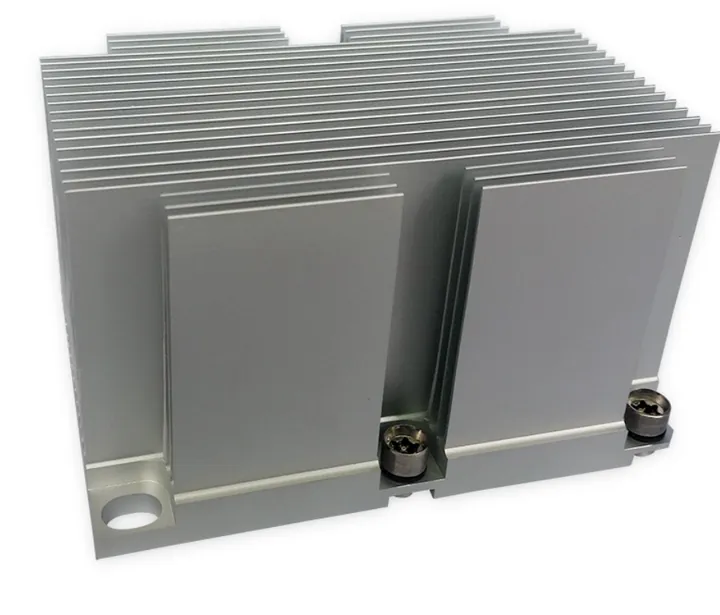
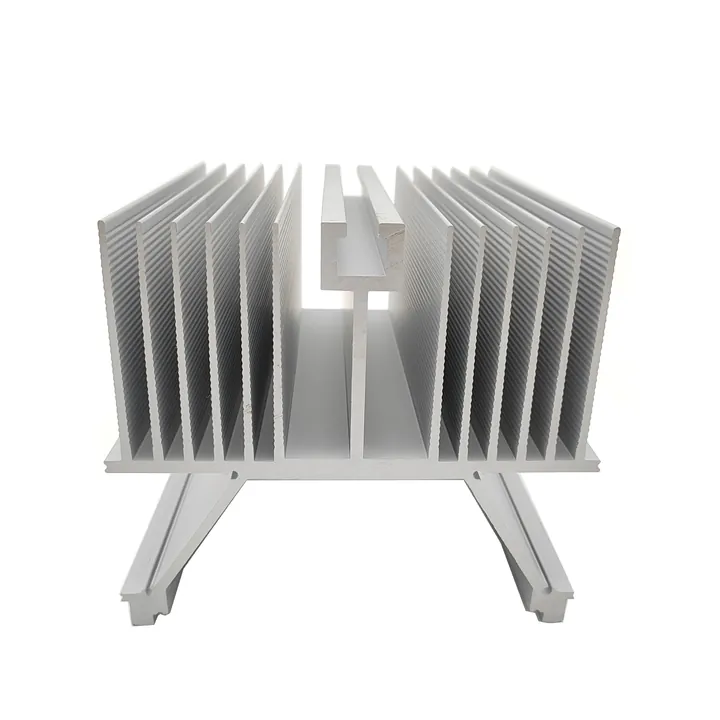
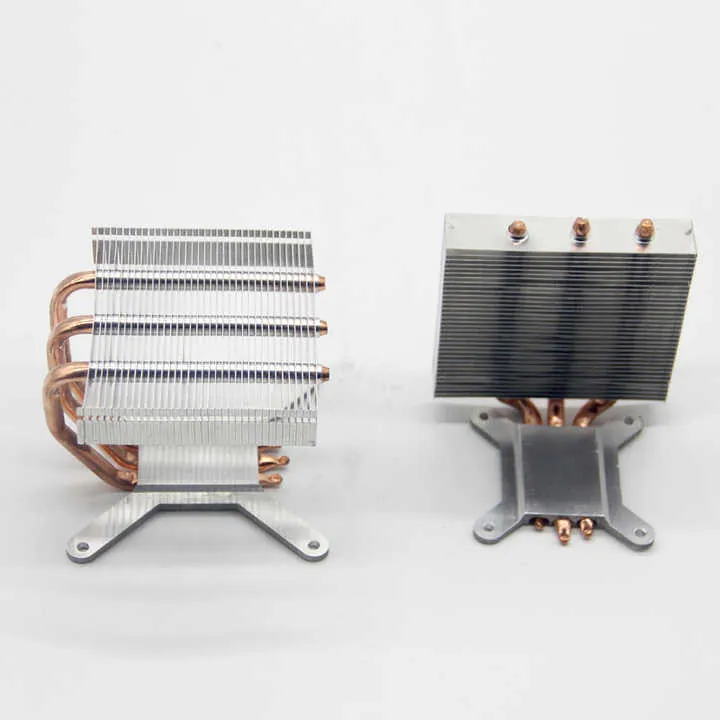
Prototype CNC machining is a method of producing small quantities of parts—often just one or two—using CNC milling, turning, or other subtractive techniques. The goal is to validate the design, check dimensions, test performance, or prepare for production with parts that behave like final components.
This approach is common in industries like automotive, aerospace, medical devices, and industrial machinery—anywhere early functional testing is critical.
Key characteristics of prototype CNC machining:
| Feature | Description |
|---|---|
| High accuracy | Precision tolerances and surface finishes match or exceed production specs |
| Functional materials | Parts are made from the same or similar materials as final products |
| Small batch size | Often one-off or low-volume (1–10 pcs) production |
| Fast turnaround | Parts can be ready in days rather than weeks |
| Full functionality testing | Allows for mechanical, thermal, and assembly testing |
What are the benefits of CNC prototyping?
Prototype CNC machining provides fast, precise, and realistic parts that help reduce errors before production begins.
Compared to other prototyping methods like 3D printing or casting, CNC machining offers several clear advantages when testing form, fit, and function.
Benefits overview:
| Benefit | Explanation |
|---|---|
| Speed | No tooling needed—parts can be cut as soon as design is ready |
| Accuracy | CNC machines hold tight tolerances for critical fits and clearances |
| Material realism | You can machine from aluminum, steel, plastics, and other real materials |
| Repeatability | Once a program is created, it can be reused for consistent quality |
| Surface quality | Machined surfaces require less post-processing than other methods |
| Risk reduction | Early detection of design flaws avoids costly changes later |
| Cost savings | Especially when tooling for casting or molding is expensive or time-consuming |
I’ve found CNC prototyping especially valuable when customers request a sample before confirming an order. We can send them a high-quality machined part in just a few days, giving them confidence in both the design and our capabilities.
How to carry out prototype CNC machining?
To create an effective CNC prototype, you need a structured approach—from design to validation. Here's a simple process that I follow in my projects.
Step 1: Define the prototype’s purpose
Understand what the prototype is meant to test. Are you checking dimensions? Testing how parts fit together? Or verifying strength and performance?
This will affect your choices for material, tolerances, and finish.
Step 2: Choose the right material
Select a material that's close to your final product. For example, if your end product will use 6061 aluminum, don’t prototype in plastic unless all you're testing is the shape.
Step 3: Prepare the CAD model and CAM program
Start with a solid CAD model. Import it into CAM software to generate the toolpaths. Consider:
- Tooling
- Machining strategy
- Fixturing
- Surface finish requirements
Make sure the design is optimized for manufacturability to reduce machining time and avoid errors.
Step 4: Setup and machine
On the CNC machine:
- Load the stock material
- Set the zero points
- Install the correct cutting tools
- Run a simulation (if available) before cutting
Then start machining, making sure to monitor for chatter, tool wear, and coolant flow.
Step 5: Post-process and inspect
After machining, perform deburring, surface treatment, or cleaning as needed. Use calipers, micrometers, or CMM to inspect critical dimensions.
Step 6: Test and iterate
Use the prototype to test the actual application. If any issues arise—interference fits, weak points, or design flaws—you can return to CAD, make adjustments, and machine a new version.
This quick feedback loop allows you to make informed design changes before investing in large-scale production.
Typical Workflow Table:
| Stage | Tasks |
|---|---|
| Planning | Define goals, select materials, set specs |
| CAD Design | Create 3D model with accurate geometry and tolerances |
| CAM Programming | Generate toolpaths, select tools, simulate job |
| Machining Setup | Fixture workpiece, load tools, align machine coordinates |
| CNC Cutting | Mill or turn the part, adjusting feeds and speeds as needed |
| Finishing | Deburr, polish, clean |
| Quality Check | Inspect dimensions and surface finish |
| Testing | Fit, assemble, or functionally test the part |
| Feedback & Revision | Modify CAD model and repeat if required |
What are the trends in CNC prototyping technology?
CNC prototyping is evolving fast with new technologies, automation, and smarter software that reduce lead times and boost precision.
Here are some of the top trends I’m seeing and using in real-world applications:
1. Hybrid manufacturing
Combining 3D printing and CNC machining in one workflow allows you to print rough shapes quickly and then machine precision features. This hybrid approach saves time and material.
2. Multi-axis machining
5-axis and even 9-axis machines make it easier to prototype complex parts with fewer setups and better accuracy. It’s a game-changer for curved surfaces, undercuts, and compound angles.
3. On-demand manufacturing platforms
Digital platforms now offer instant quotes, DFM feedback, and global CNC networks. This makes it easier to outsource fast, one-off prototype jobs without heavy investment.